
Last updated: Apr 10, 2026
How to edit TikTok videos for high engagement? This question pops up in the mind of every creator seeking ways to reach the top on TikTok. Using expensive and heavy software is not the answer you are looking for. TikTok has its own editing tools, and if you know how to use them, you can be a pro editor. We'll show you the exact ways to edit your TikToks in the app, making it very easy for you.
A lot of the people who create these editing tutorials show you expensive software, which can be overwhelming. But this article is going to keep everything straightforward for you. Unless you are trying to become a producer, an editor, or a videographer, there is no need for hefty software. The videos that seem to perform best are those that are edited in the app very simply. So let’s start learning how to edit videos within the app quickly and easily. Let's dive in!
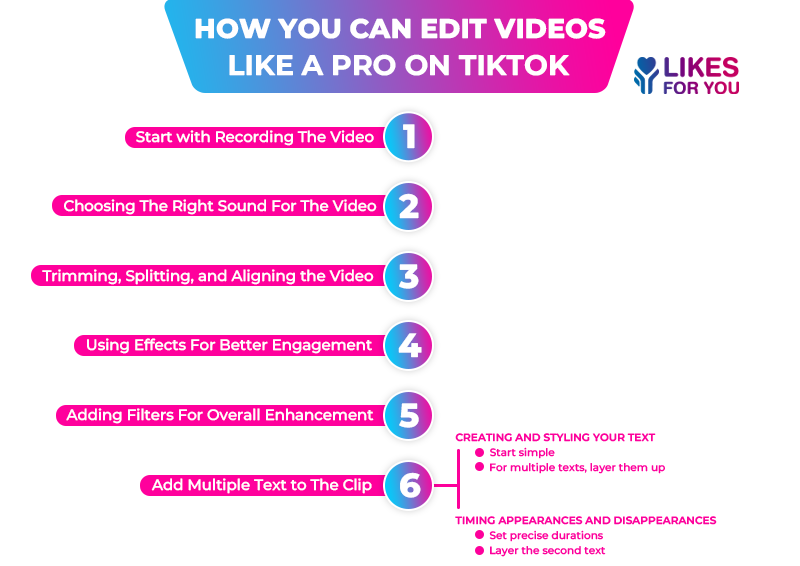
Editing videos using the built-in TikTok editing tools is pretty simple, and the outcomes are really satisfying. Following is the step-by-step procedure of how you can record and edit an exceptional video on TikTok without any heavy software.
So the very first thing you are going to do is hit the plus sign at the bottom middle of the screen. And then from there, your phone will start recording the video, and before you do that, do not forget to set up your camera. Keep the camera in the middle of the room and turn the camera vertically on the tripod. Stand in front of your setup and face the camera.
Use good lights as it is going to play a crucial role in making a great quality video, and if you are aware of the TikTok 3-second rule, you must know that quality matters more than anything in grabbing user attention.
Use a main light, which will make your face clear and bright, and the other one is the fill light, which will make the shadow that's being created by the main light. Most of the phones are capable of recording 4K 30 or even 60 frames per second. So you are going to have an absolutely great raw clip.
You can add music either at the start when you record the video, or it can also be done at the end. Generally, people like to use the sounds from within the app, and you can find those by clicking on the sounds. Scroll through until you find the right fit according to your video theme. To avoid getting in trouble with copyright, some creators use their original voice, which is totally optional.
Now, to choose the right sound, start by picking a piece of music of your choice. You can line up the three-second timer with where you want the sounds to cut off. So if you want to have a transition right as the beat drops, cut the video at the exact beat of the sound. You can drag that red line to adjust the cut-off. Videos following the beats tend to get more TikTok views because they are engaging and attractive to viewers.
Let’s understand how you can make trimming, splitting, and aligning your TikTok videos a breeze. It all starts with smart recording techniques like using the timer for seamless transitions. These methods let you capture perfectly timed clips upfront, so editing feels effortless. For example, set your timer to 3.9 seconds to create hands-free videos that cut off exactly when you need them. This preps your footage for quick trims and splits.
Another way is to start recording, and it'll count down three seconds, then capture for 3.9 seconds and stop automatically. That's how you build those awesome transition videos: repeat it over and over for pro-level alignment. If you do not have a timer, tap the button at the very bottom to record until you hit stop or time runs out. Or hold it down for a short segment, then let go. Each clip lands ready to trim, split, or align without hassle.
You can trim or split those clips right in TikTok. Once you are done recording, tap the scissors icon on your clip in the editor. Drag the handles to trim or shorten from ends, or tap "Split" to divide at the playhead for precise cuts, which make your videos standout. This pairs perfectly with your timer clips; align split pieces by dragging them on the timeline for smooth transitions.
One game-changing trick you need to know, and most creators overlook, is that the best effects for editing are the in-app pre-production effects tray. There's a bunch of effects, including silly, new, and trending, but the green screen standouts for pro results. You can easily use the effect by dragging photos from your album onto it, then recording short segments.
Viewers love this dynamic switch-up, and to make the engagement outcomes even better, buy TikTok likes on your edited video for boosted growth. Every time you end a recording segment, switch to a different photo or effect for seamless variety. Layer effects mid-recording to align with trends, saving tons of post-edit time. Experiment with pre-production effects to make your TikToks pop and keep scrolling fingers hooked.
Another important part of editing videos within TikTok is adding filters. It smooths out your skin. Excessive use of it can look a little fake, but it's really nice for days when you don't feel like doing your makeup. Or you can add filters that add some more color.
For example, some videos look very pale, and there is not a lot of color without a filter. You can try out different filters till you find one that you like for that particular video. These are kind of fun to play around with.
You can easily add multiple texts in TikTok's editor, including appearing and disappearing effects to keep viewers hooked during transitions.
Start simple: Tap to create text like "hey." Make it stand out by bolding it against any background color you choose. Or keep it semi-transparent or with no background for a clean look. Pick your favorite typeface, and align it center, right, or left.
For multiple texts, layer them up: Add "hi" and "hello" or feel free to get creative. Drag each text to its perfect spot on the timeline.
i): Set precise durations: Drag the first text to appear partway through. TikTok can glitch here sometimes; it's one of the app's quirks, but do not get frustrated and keep on with it, it’s worth it. Drag to disappear halfway, just as the next one fades in.
ii): Layer the second text: Set it to appear once the first is on screen, then vanish after. This creates seamless appearing/disappearing magic. Stack as many as you want, just keep each at least 1 second minimum for best results. Toss in stickers if you like for extra flair and higher engagement.
Preview on different devices to ensure text readability, perfect for pro-level TikToks that convert viewers to fans.
The editing process does not end just by adding filters, effects, and sounds; there is more to it. After doing the major editing, some postediting enhancements can actually make a big difference. Your short videos become more hooky for viewers, and even TikTok long videos observe better engagement.
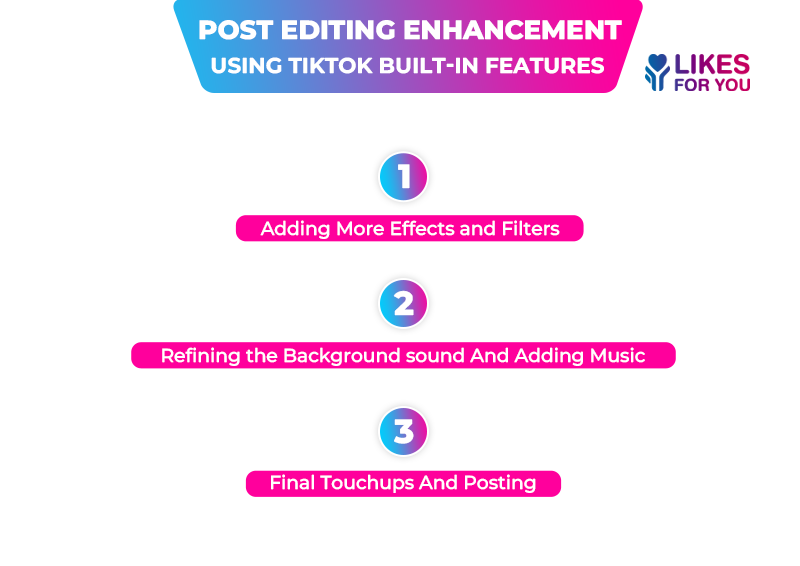
Once you have done all the major editing, you can add some effects after the case. It is recommended to play around with effects and filters just to see how much your video can be improved. These are different than the pre-production editing effects. You must use them to a limit where they do not make your video feel fake. If it does not suit your video, you can remove the TikTok filter and keep it real.
You can add background music if you want. You can add those sounds and then turn your original audio down or up, and then turn the volume of the music down or up to the point where you like it. It will give an impression of light background music. You can drag it to determine how long it's gonna be on the video.
Once you're finished and happy, you can save the video, or you can tap “Next”. Add TikTok captions, descriptions, hashtags, and add whichever cover photo you want from the video. Preview the video, make the final touchups, and then you can go ahead and post or draft the video.
In a nutshell, editing a TikTok video does not require expensive software or a large budget. It can be easily done with TikTok’s own tools without spending any money. But this needs skill and perfection, which lies in very small things that often get neglected even by pro creators.
All the steps of editing a pro-level TikTok video are mentioned in the blog. When you read and follow it thoroughly, the results are guaranteed. To further enhance the results of your editing videos, it is recommended to purchase TikTok growth services from reputed brand such as Likesforyou. They offer real engagement, likes, views, and more that can boost your growth.
Editing TikTok videos is straightforward using the app's built-in tools. Start by recording video, then use the editing screen for trimming/splitting, effects/filters, text overlays, and sounds. After core edits, add captions via the "Captions" button, write your description/hashtags, preview, and post.
No, TikTok doesn't allow editing the video content, effects, or sounds after posting to preserve authenticity. You can only update the caption, hashtags, or cover image.
Add captions after core edits like trimming, effects, text, and music, but before posting. Tap "Captions" in the right toolbar, TikTok auto-generates from audio for perfect sync; edit timing/styles as needed.
Top TikTok in-app effects include Green Screen for dynamic backgrounds, Magic Tool, speed ramps (0.3x-3x for drama), and trending filters. Apply them pre-recording or post via the effects tray to align with beats/transitions, keeping videos snappy and viral-ready.
Table of Content

Inez Nevaeh
Inez Nevaeh is an author with a passion for social media growth. She specializes in creating engaging content and expert guides for social media success. Skilled in translating complex algorithms into actionable strategies, building striking online presences, and empowering creators to thrive. Inspired by a mission to make social growth accessible and easy.
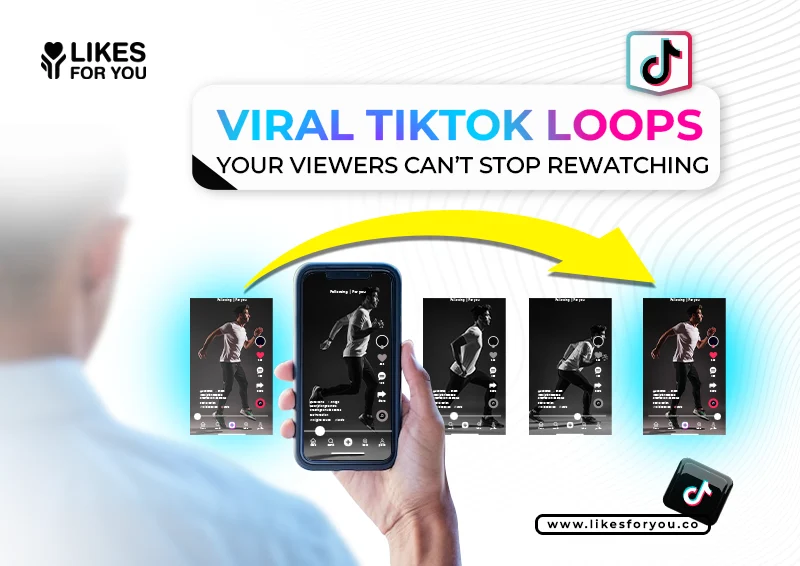
Most TikTok videos are watched once… and forgotten. But the ones that explode? They have some...
You know that moment, you open a TikTok, realize you’re super early, and there are zero commen...
TikTok has evolved way beyond just an entertainment platform; it has now become a marketing hub. The...
Want to grow on TikTok but don't know how? LikesForYou will help you to give your TikTok the glow it deserves.
NOW ENJOY DISCOUNT ON EVERY PURCHASE
